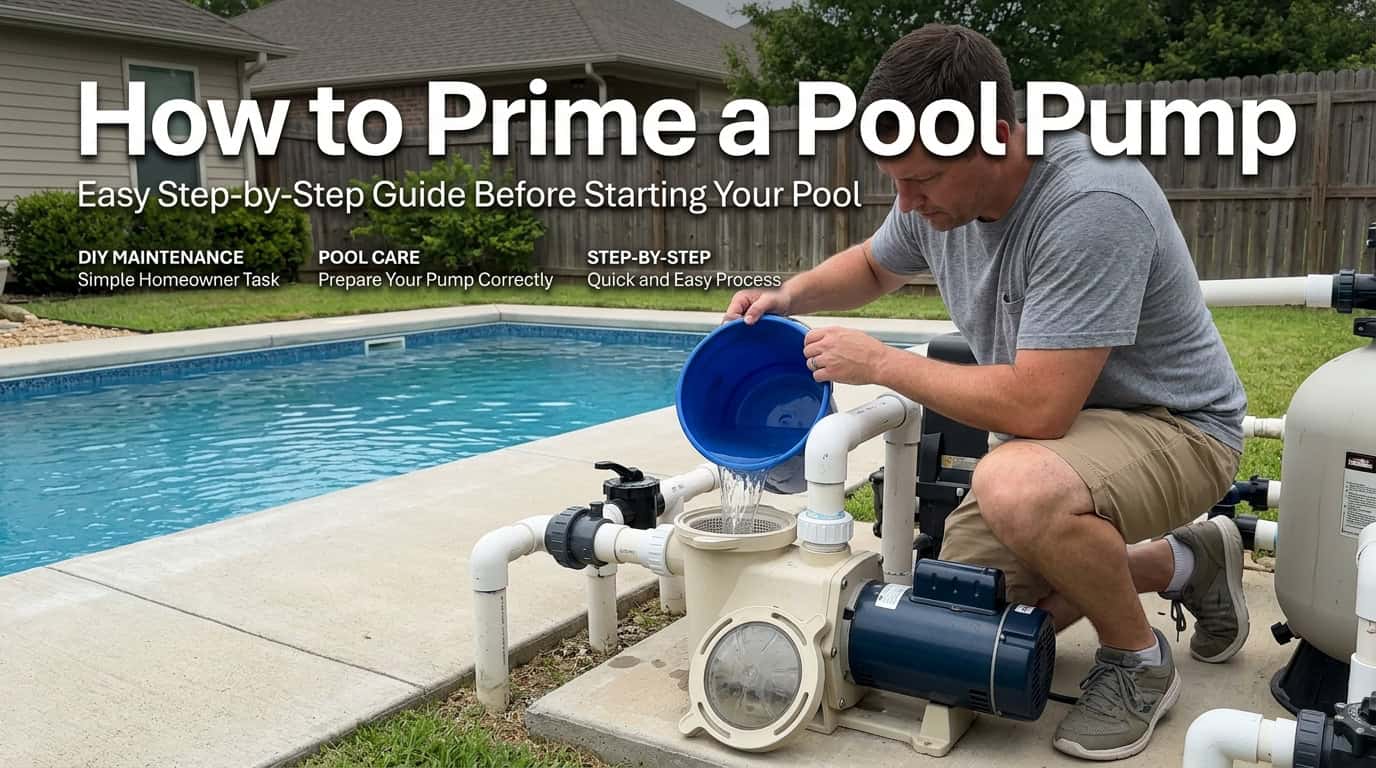
How to prime a pool pump
Your pump kicks on and all you hear is a dry rattle – or worse, nothing but a gurgle from the equipment pad while the pool water sits still. You check the strainer basket and it’s bone dry. This is the most common “my pump is broken” call that turns out not to be a broken pump at all. It’s an unprimed one, and priming it takes ten minutes with tools you probably already own.
This guide walks through what priming actually does, how to prime a standard single-line setup, how to handle a pump with more than one suction line (skimmer plus main drain), what’s different for above-ground pools and self-priming variable-speed models, and how to tell the difference between “I did this wrong” and “I have an actual leak.”
What Priming a Pool Pump Actually Means
A pool pump moves water using suction, not gravity. For that suction to work, the pump housing, the impeller, and the suction line all need to be completely full of water with no air pockets. That full-of-water state is called “prime.” Once primed, the pump can pull a continuous column of water from the pool, push it through the filter, and send it back through the returns.
Air breaks that column. A pump trying to run on air instead of water isn’t just inefficient – it’s not moving any water at all, and running a pump dry for more than a few minutes can burn out the seal or the motor bearing. That’s why priming isn’t optional maintenance trivia. It’s the first thing to fix before you troubleshoot anything else on the equipment pad.
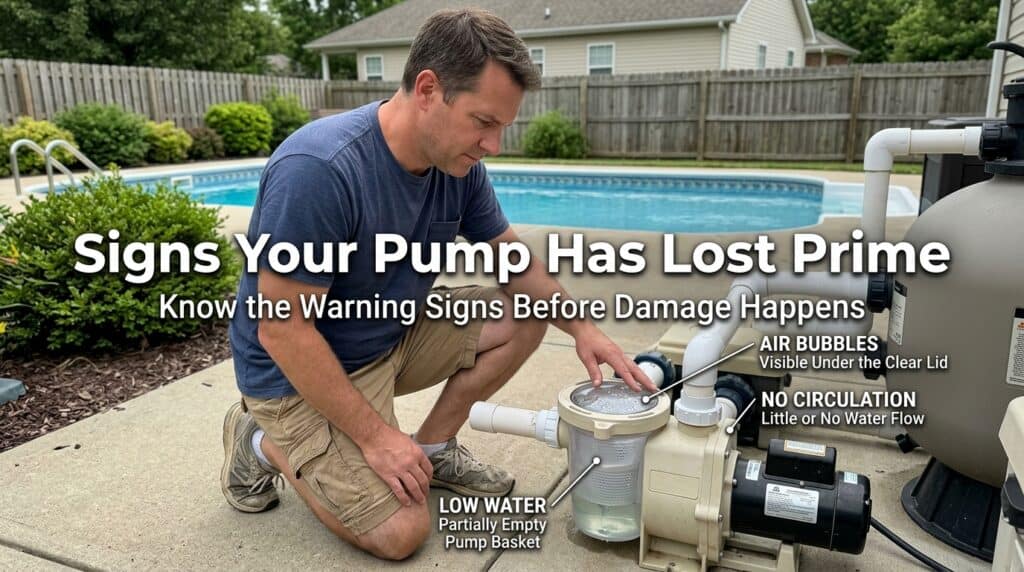
Signs Your Pump Has Lost Prime
- Empty or partially empty strainer basket – if you open the lid and don’t see water sitting in the basket, the pump isn’t primed
- Gurgling or rattling sound – the motor spinning against air instead of water makes a distinct hollow, rattling noise
- No flow at the returns – jets in the pool aren’t pushing water, or the pressure gauge on the filter reads zero
- Air bubbles visible in the strainer lid – a clear lid shows air churning instead of solid water
- Pump runs hot or trips repeatedly – a dry-running motor overheats faster than one cooled by circulating water
If you see any of these, shut the pump off before doing anything else. Running it dry while you figure out the problem risks damaging the seal.
Before You Start
Cut the power first. Turn off the pump at the breaker, not just the timer or the switch on the pump itself. You’ll be opening the strainer lid, which means your hands will be near a motor that shouldn’t be able to start while you’re working on it.
Check the water level. Your pool water needs to be at least halfway up the skimmer opening. If it’s low, the skimmer starts pulling air along with water no matter how well you prime the pump. Top off the pool with a hose before doing anything else if the level looks low.
What you’ll need:
| Item | Why You Need It |
|---|---|
| Garden hose or a few buckets | To fill the pump housing with water before starting |
| Pool-safe silicone lubricant | To seat the strainer lid O-ring and get a proper seal |
| Clean rag | To wipe debris from the O-ring and lid threads |
| Replacement O-ring (if needed) | Only if the current one is cracked, flattened, or stretched out |
How to Prime a Pool Pump: Step by Step
This is the standard sequence for a single suction line setup, which covers most residential above-ground pools and simpler inground setups.
- Turn off power at the breaker. Confirm the pump isn’t going to start while your hands are inside the housing.
- Close the valves on the suction and return lines if your setup has them, directly before and after the pump. This stops water from draining back out of the system while the lid is open.
- Open the strainer basket lid slowly to let any trapped pressure release, then remove it fully.
- Pull the strainer basket out and clean it. Leaves, debris, and buildup here are a common reason pumps struggle to pull water even after priming.
- Rinse the basket with a hose and set it back in place.
- Fill the pump housing with water using a hose or bucket, right up to the top of the housing opening. This is the step that actually removes the air from the system – the pump doesn’t have to generate suction from a completely dry start.
- Inspect the O-ring on the strainer lid. It should look round and pliable, sitting evenly in its groove. If it’s flattened, cracked, or visibly stretched, replace it – a bad O-ring is one of the most common reasons a pump won’t hold prime even after you’ve done everything else right.
- Apply a thin coat of pool-safe silicone lubricant to the O-ring. This helps it seat fully and seals out the air that would otherwise get pulled in around the lid threads.
- Close the lid and hand-tighten – snug, not wrenched down. Overtightening can distort the O-ring and cause the exact air leak you’re trying to prevent.
- Open the suction and return valves back up if you closed them in step 2.
- Turn the power back on. You should hear the pump’s tone change within 15 to 60 seconds as it moves from pulling air to pulling solid water.
- Watch the strainer lid. Air bubbles moving through and out is normal at first. Once you see solid, bubble-free water circulating and the pressure gauge climbs to a normal reading, the pump is primed.
If a full minute passes with no change and the pump still sounds like it’s running dry, shut it off and repeat the process – this time filling the housing with roughly twice as much water as before. A partial fill sometimes isn’t enough to fully displace the air pocket on the first attempt.
Priming a Pump With Multiple Suction Lines
Pools with both a skimmer and a main drain – most inground pools, and some larger above-ground setups – pull water through two suction lines that meet before the pump. Priming this setup takes one extra layer of technique, because trying to prime both lines open at once often just moves the air pocket back and forth without ever clearing it.
- Follow steps 1 through 9 above to fill the housing and seal the lid.
- Open only one suction valve – typically the skimmer line – and keep the main drain valve fully closed.
- Turn the pump on and let it pull from that single open line until you see solid water with no air bubbles in the strainer lid.
- Once that line is fully primed, slowly open the second valve a small amount at a time.
- The pump will likely lose prime again briefly as it starts pulling air from the newly opened line – that’s expected. Let it work through that air.
- If it stalls out completely on the second line, close that valve back down, let the pump re-establish prime on the first line, then try opening the second valve again more gradually.
- Once both lines are open and you’re seeing steady, bubble-free flow with no repeated air surges, the pump is fully primed on both suction sources.
This can take a few rounds of opening and closing valves in sequence. That’s normal – it’s a more reliable way to prime a multi-line system than opening everything at once and hoping for the best.
Above-Ground vs. Inground: What’s Different
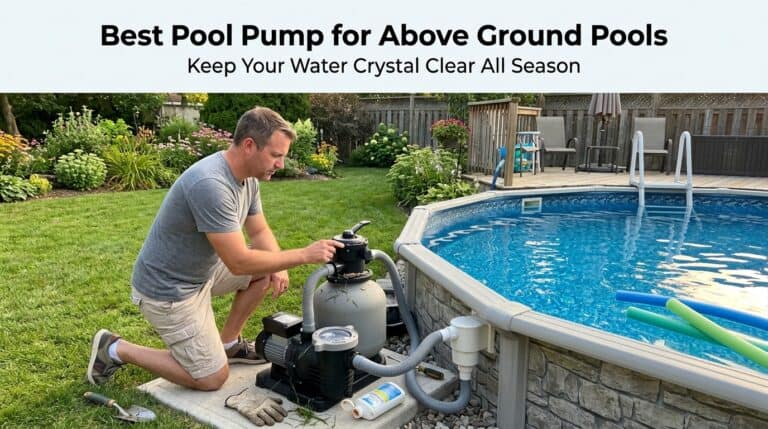
Above-ground pool pumps rely almost entirely on the pump sitting below the skimmer’s water level – gravity feed does a lot of the work of keeping the line full. If your above-ground pump keeps losing prime no matter how carefully you follow the steps above, check the pump’s physical position first. It needs to sit at or below the skimmer opening, and as close to the pool as the hose length allows. A pump set up higher than the skimmer, or too far from the pool, will struggle to hold prime even with a perfect seal. We cover pump sizing and setup specifics for above-ground pools in our above-ground pool pump guide.
Inground pumps are usually set at or below pool level by design, so positioning is rarely the issue. Inground systems are more likely to have the multi-line setup (skimmer plus main drain) described above, and are also more likely to have a suction-side leak somewhere in buried or long-run PVC plumbing rather than at the pump itself.
Self-Priming and Variable-Speed Pumps
Many newer pumps, including variable-speed models, are marketed as “self-priming.” This means the pump is designed to draw air out of the system on its own once there’s at least some water in the housing to start with – you don’t need to top off the housing to the exact brim the way you would with an older single-speed pump. It does not mean the pump can start completely dry and pull water up from nothing. You still need to fill the housing partially before the first startup, and the O-ring and lid seal still matter just as much.
Self-priming models are also generally better at recovering prime on their own after a brief power interruption, since the impeller design handles small air pockets more efficiently. If you’re shopping for a replacement pump and priming has been a recurring headache with your current one, a self-priming model is worth the small premium – it’s one less step you have to babysit every time the power blips.
Troubleshooting: Pump Won’t Prime
| Symptom | Likely Cause | What to Do |
|---|---|---|
| Pump won’t build any suction at all | Low pool water level below the skimmer | Top off the pool with a hose until water is at least halfway up the skimmer opening |
| Loses prime a few minutes after starting | Worn or dry O-ring on the strainer lid | Inspect the O-ring, replace if cracked or flattened, lubricate before reseating |
| Air bubbles constantly visible in the lid | Air entering through a loose union fitting or hose clamp | Check and tighten all suction-side connections between the pool and the pump |
| Primes on one line, won’t hold with both open | Multi-line system opened too fast | Use the sequential valve-opening technique above |
| Basket fills with water but pump still won’t push flow | Debris clogging the impeller or a closed valve downstream | Confirm all downstream valves are open; if flow still won’t push, the impeller may need to be cleared |
| Weir door or skimmer door won’t open properly | Debris jammed in the skimmer, or the door itself is stuck | Check and clear the skimmer basket and weir door before troubleshooting the pump further |
| Pump primed fine last week, won’t now | New crack or loosened fitting somewhere in the suction line | Inspect visible plumbing for wet spots, hairline cracks, or fittings that have worked loose |
When It’s Not User Error – Signs of a Real Leak
If you’ve cleaned the basket, replaced or lubricated the O-ring, confirmed the water level, and the pump still won’t hold prime after a couple of honest attempts, the problem is probably a suction-side air leak rather than anything you’re doing wrong. Common spots to check:
- Union fittings directly before and after the pump – a loose union is one of the most common sources of a slow air leak
- Visible cracks in above-ground PVC or flexible hose runs
- The pump’s shaft seal itself, especially on an older pump – a failing seal can pull air even when everything else is sealed correctly
- Any valve stem or gauge port with a worn O-ring of its own
A small suction leak is often audible as a faint hissing sound near the fitting, or visible as a thin stream of tiny bubbles concentrated at one spot rather than scattered throughout the basket. If you find a specific point that’s leaking, that’s a repair job for that fitting or seal – not something more priming attempts will fix. At that point it’s worth getting a pool professional to pressure-test the suction line if you can’t pinpoint the source yourself.
How Long Should Priming Take?
A healthy pump on a simple single-line system should fully prime within 30 to 60 seconds of being powered on, once the housing has been properly filled and the lid sealed. Multi-line systems can take a few minutes total, especially the first time you’re working through the sequential valve technique. If you’re consistently waiting longer than 2 to 3 minutes with no sign of the pump catching, stop and work through the troubleshooting table above rather than letting it keep running dry.
Frequently Asked Questions
Why does my pool pump keep losing prime?
The most common repeat cause is a worn or improperly seated O-ring on the strainer lid letting in a small, steady trickle of air. Low pool water level and loose union fittings are the next most common causes. If the pump primes and then loses it again within minutes, work through the O-ring first before assuming anything more serious is wrong.
Can I run my pool pump without priming it first?
You shouldn’t. A pump running dry isn’t circulating any water, and running it that way for more than a few minutes risks overheating and damaging the seal or the motor. If you’re not sure whether it’s primed, check the strainer basket for standing water before you assume it’s running normally.
How do I know if my pump is fully primed?
Look through the strainer lid. Solid, bubble-free water moving through means it’s primed. Air bubbles churning through the basket, or a basket that looks empty, means it isn’t there yet.
Why won’t my pump prime after I opened the pool for the season?
After winterization, air is trapped throughout the entire plumbing system, not just the pump housing. It can take a couple of priming attempts to clear it all out, especially if you have a multi-line setup. Also double-check that every winterizing plug has been removed and every valve returned to its normal open position – a forgotten plug or a valve left in the winterized position will prevent priming no matter how many times you try.
Is it normal for the pump to lose prime when I open a second valve?
Yes, on multi-line systems this is expected. Opening a second suction line introduces a fresh air pocket that has to be worked out, the same way the first line did. Open it gradually and give the pump a chance to recover rather than opening it all the way at once.
Quick Recap
Priming a pool pump comes down to getting the housing full of water and getting a fully sealed lid before you ask the pump to do the rest. Fill the housing, check and lubricate the O-ring, seal the lid without overtightening, and open valves gradually if you have more than one suction line. If it still won’t hold prime after a genuine attempt at all of that, you’re very likely looking at a small air leak somewhere in the suction-side plumbing rather than a pump that needs replacing.
If priming isn’t the issue, two related problems worth checking: why your pump keeps tripping the breaker and why your pump is making a loud humming noise.